How to Remove Mold Mildew: Practical Home Remediation Guide
Learn proven steps to safely remove mold mildew from walls, bathrooms, basements, and appliances. This expert guide covers PPE, cleaners, remediation methods, and prevention to protect your home.

Understanding Mold Mildew: What It Is and Why It Matters
Remove mold mildew is a common household concern that often signals an ongoing moisture problem. Mold refers to filamentous fungi that can grow on a variety of materials, while mildew tends to appear as flat, powdery patches on surfaces. Health considerations include allergic reactions, irritated eyes, and respiratory symptoms, especially for sensitive individuals. Early detection helps prevent spreading to other rooms. Signs of growth include fuzzy patches, a musty odor, staining, and a damp feeling in the area. According to Mold Removal Lab, mold mildew growth typically indicates an underlying moisture source that must be addressed for lasting relief. Understanding the difference between surface staining and active growth helps you decide whether cleanup in place is enough or if broader remediation is required.
The Water Culprit: Moisture Control and Prep Work
Moisture is the primary driver of mold mildew formation. Leaks from roofs, pipes, or appliances, poor ventilation, and high indoor humidity all contribute to conditions where mold can thrive. Before cleaning, locate and fix any leaks, then isolate the affected area to prevent spores from spreading to uncontaminated spaces. Prep work matters: cover nearby floors and adjacent rooms with plastic sheeting, and remove porous materials that are severely contaminated. The goal is to create a clean, controlled zone so cleanup is effective and safer for inhabitants. Mold Removal Lab’s analysis shows that addressing moisture sources and containment are more important than the cleaning step itself for long‑term success.
Safe Tools, PPE, and Cleaners: What You Need
Before you begin, assemble PPE and appropriate cleaners to minimize exposure and ensure a thorough job. Use an N95 respirator, non‑latex gloves, and eye protection. Have plastic sheeting, tape, a spray bottle, scrub brushes, microfiber cloths, and disposable bags ready. For cleaners, plain white vinegar, hydrogen peroxide, baking soda, and EPA‑registered mold cleaners are commonly recommended options. Always ventilate the area and never mix cleaners, as some combinations can release harmful gases. These supplies help you clean effectively while protecting your health and indoor air quality.
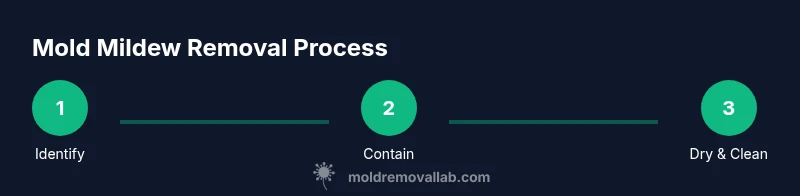
Step-by-Step Removal Process
- Identify and document the mold source. Locate all visible growth and trace potential moisture sources. 2) Contain the area to prevent cross‑contamination by sealing doors and vents with plastic sheeting. 3) Put on PPE, apply containment measures, and prepare cleanup zone to minimize exposure. 4) Clean nonporous surfaces with a chosen cleaner; scrub away visible mold using a brush. 5) Remove and seal or dispose of porous materials that are heavily contaminated. 6) Dry the area thoroughly using fans and dehumidifiers; ensure surfaces are completely dry to prevent regrowth. 7) Reassess moisture sources, repair leaks, and improve ventilation to reduce future risk. Why: moisture control and complete drying are essential to prevent recurrence.
tip: