Mold Repairs: A Practical Guide to Safe Remediation
Learn a practical, step-by-step approach to mold repairs that prioritizes safety, moisture control, and durable restoration. This guide covers containment, material replacement, drying, and prevention strategies backed by Mold Removal Lab analysis for homeowners and renters.

In this guide, you will learn how to perform mold repairs safely and effectively, from identifying moisture sources to completing containment and repair of affected areas. You’ll understand when DIY is appropriate and when to call a pro, plus how to document work for future prevention. According to Mold Removal Lab, proper containment and drying are critical for lasting results.
Understanding the scope of mold repairs
Mold repairs go beyond surface cleaning; they involve stopping the moisture that fuels mold growth, removing and replacing damaged materials, and restoring indoor surfaces to their original function and appearance. The term encompasses identifying the root causes of moisture intrusion, isolating the affected area to prevent cross-contamination, and performing repairs to walls, flooring, or structural components that mold has compromised. A successful repair plan combines moisture control, physical removal of contaminated materials, decontamination, and a restoration phase that returns the space to normal use. According to Mold Removal Lab, the most durable repairs address moisture sources and substrate damage simultaneously, reducing the chance of recurrence. Homeowners should expect a multi-step process, with testing and documentation layered in to support ongoing prevention.
Understanding the scope of mold repairs
- Identify moisture sources (leaks, humidity, condensation) and fix them before any remediation.
- Separate contaminated zones from the rest of the home to prevent cross-contamination.
- Replace or repair damaged materials with non-porous or properly sealed options when needed.
- Reassess after work with moisture readings to ensure the environment is safe before restoration completes.
- Documentation and follow-up checks are essential for durable results, not just a quick fix.
Practical guidance: case-focused planning
When planning mold repairs, a homeowner should map out the affected areas, prioritize structural materials for replacement, and plan a drying strategy that uses dehumidification and airflow management. A comprehensive plan considers hidden moisture behind walls, subfloor moisture, and HVAC-related moisture circulation. Mold Removal Lab emphasizes the importance of a written remediation plan that records findings, the materials removed, and the sequence of repairs. The plan should include checkpoints for moisture readings and a timeline for restoration to minimize downtime in the living space.
Safety and code considerations
Safety is non-negotiable in mold repairs. Proper PPE (respirator, disposable coveralls, gloves, eye protection) protects residents and workers from mold spores and cleaning agents. Containment should comply with local codes and industry best practices, including sealing off the area, employing HEPA filtration, and ensuring negative pressure when needed. Electrical and structural work should follow code requirements to avoid hazards. Always verify that the work area has adequate ventilation but remains contained to reduce the spread of spores to other rooms.
Step-by-step workflow overview: containment, removal, drying, and restoration
A well-managed mold repairs workflow includes containment, removal or replacement of contaminated materials, thorough cleaning and decontamination, mechanical drying, and final restoration. This overview highlights the sequence and rationale behind each phase, helping you align tasks with a practical schedule. It also sets expectations for the level of effort required and the potential need for professional services in complex situations.
Materials and methods for mold repairs
Selecting materials that resist moisture and mold growth is critical. Porous contents and building substrates often require removal, while non-porous surfaces may be cleaned and sealed. Chemical cleaners should be chosen with care to avoid damaging substrates or leaving residues that encourage recurrences. For porous materials, replacement with mold-resistant products (where appropriate) reduces future risk. The right adhesive, sealant, and framing materials contribute to a durable repair. Mold Removal Lab analysis underscores that cleaning methods alone are rarely enough on porous materials and that replacement and sealing are often necessary.
Common mistakes and how to avoid them
- Skipping a thorough moisture assessment before work begins.
- Overlooking hidden moisture behind walls or under flooring.
- Relying on cleaning alone for porous materials instead of replacement when needed.
- Neglecting proper containment and air filtration, which spreads spores.
- Failing to document steps, material removals, and moisture verification results.
- Using harsh cleaners on sensitive substrates that can degrade materials.
Aftercare: monitoring humidity and moisture control to prevent recurrence
After completing mold repairs, ongoing humidity control is essential. Use a dehumidifier and ensure proper ventilation, especially in high-moisture areas like bathrooms and basements. Regularly inspect the repaired surfaces for signs of moisture intrusion, water stains, or new suspect odors. Consider a preventative maintenance plan that includes annual moisture checks, prompt repairs of leaks, and routine cleaning protocols to keep humidity levels in a safe range. Implementing these practices helps ensure that mold repairs remain effective over time.
Tools & Materials
- N95 or P100 respirator(Protect against mold spores during removal and cleaning)
- Disposable coveralls(Keep clothing free from contamination; use one-time wear)
- Goggles or safety glasses(Eye protection against splashes and spores)
- Nitrile gloves(Wear double layers if handling contaminated materials)
- Plastic sheeting and tape(Create a containment barrier around the work area)
- Utility knife and scissors(For removing damaged materials cleanly)
- HEPA vacuum and air scrubber(Capture spores and improve air quality during work)
- Moisture meter or hygrometer(Monitor moisture and drying progress)
- Dehumidifier and fans(Promote fast, thorough drying after removal)
Steps
Estimated time: 6-8 hours (plus drying time)
- 1
Conduct moisture assessment
Begin with a thorough moisture assessment to locate the source of intrusion. Check for leaks, condensation, and humidity indicators in the affected spaces. Use moisture meters and infrared tools to uncover hidden dampness behind walls. Document findings for a remediation plan.
Tip: Measure multiple points in each area to avoid missing hidden moisture. - 2
Set up containment and isolation
Erect plastic barriers to isolate the work zone and prevent cross-contamination. Use zippered plastic sheeting and tape to create a negative-pressure setup if possible. Ensure the HVAC system is protected or isolated to stop spores from circulating.
Tip: Seal all air gaps and keep doors closed during work. - 3
Shut down sources and protect utilities
Turn off affected HVAC zones and protect electrical outlets from moisture exposure. Ensure water sources are addressed before proceeding. This step reduces the spread of spores and protects workers.
Tip: Confirm power and water safety before removing materials. - 4
Remove contaminated materials
Carefully remove and bag porous materials that have mold growth or moisture damage. Use slow, deliberate cuts to minimize dust. Place contaminated materials outside the containment in a sealed container for disposal.
Tip: Do not attempt to salvage porous items that visibly harbor mold. - 5
Clean and treat surfaces
Clean non-porous surfaces with approved cleaners and apply a mold-inhibiting treatment where appropriate. Use HEPA vacuuming after cleaning to remove residual spores. Avoid saturating surfaces and allow proper airflow during treatment.
Tip: Follow label instructions for every cleaner and rinse as required. - 6
Drying and humidity control
Deploy dehumidifiers and fans to achieve thorough drying. Monitor moisture levels until they stabilize below established thresholds. Prolonged dampness invites regrowth, so do not skip this phase.
Tip: Ventilate within containment but maintain negative pressure if possible. - 7
Repair and restoration
Replace damaged materials with moisture-resistant alternatives where feasible. Re-seal joints and ensure smooth finishes to prevent moisture accumulation. Restore the space to its original function while maintaining proper ventilation.
Tip: Choose mold-resistant products for high-humidity areas. - 8
Moisture verification and testing
Recheck the area with moisture meters and visual inspection to confirm that the environment is dry and free of active growth. If readings are not within safe ranges, repeat drying steps before restoration finalization.
Tip: Document final readings in the remediation report. - 9
Documentation and maintenance plan
Compile a remediation report detailing sources, methods, materials removed, and any replacements. Create a maintenance and monitoring plan for ongoing humidity control to prevent recurrence.
Tip: Include photos, readings, and contractor contact details for future reference.
FAQ
What is the difference between mold removal and mold repairs?
Mold removal focuses on eliminating visible growth and spores, while mold repairs address moisture sources and structural material damage that allowed the mold to form in the first place. Repairs aim for a durable restoration that resists future mold growth.
Mold removal cleans up visible mold, but repairs fix the moisture sources and damaged materials to stop recurrence.
Do I need a professional for mold repairs?
Small, non-porous areas with minimal damage may be manageable for DIY, provided you follow safety guidelines and verify moisture control. Larger jobs, porous materials, or hidden moisture require professional remediation to ensure safety and code compliance.
For large areas or porous materials, it’s best to hire a professional.
How long do mold repairs take?
Time varies with the extent of damage and moisture issues. Smaller projects may complete in a day or two, while larger areas or structural repairs can extend across several days, including drying time.
Timing depends on size and moisture; expect several days for larger projects.
Is it safe to DIY mold repairs in a small area?
DIY can be safe for small, non-porous areas if you use proper PPE, contain the area, and ensure complete drying. If unsure about moisture behind walls or growth on porous materials, consult a professional.
Yes for small, non-porous areas with proper safety and drying; otherwise hire a pro.
Can I use bleach to kill mold during repairs?
Bleach is not effective on porous materials and may not reach mold roots embedded in wood or drywall. Use products appropriate for the material and replace porous items when needed.
Bleach isn’t the best choice for porous materials; replace damaged items when necessary.
What should I do to prevent mold after repairs?
Address all moisture sources, improve ventilation, and maintain humidity levels below recommended thresholds. Regular inspections and promptly fixing leaks are key to long-term prevention.
Control moisture and humidity, check for leaks, and keep good ventilation.
Watch Video
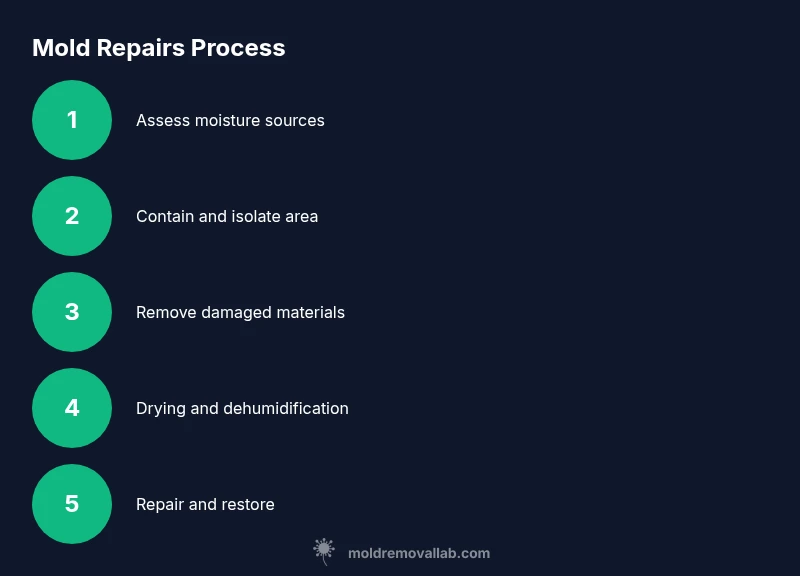
The Essentials
- Assess moisture sources first and fix leaks.
- Contain the area and dry thoroughly before restoration.
- Replace porous materials when damaged, not just clean them.
- Document each step and monitor humidity to prevent recurrence.
- Know when to call a professional for large or complex jobs.